 Go
Back Go
Back |
|
New document || Presentation controls || Master slide || New pages || Adding text || Adding images || Transitions || Adding sound || Run it || ---
|
Go
Back |
|
1. Opening a new Presentation document
Open an AppleWorks Presentation document by
clicking on the Presentation tool. 
2. Show the presentation controls
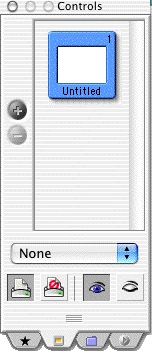
The presentation controls may show up to the side of the first slide, looking like this.
|
|
If they do not, you will need to show them, either by going Window - Show Presentation controls in the menu bar, or by clicking the second button in the button bar across the top of the screen, circled in red. The next button (ringed in blue) actually starts a presentation playing.
 |
3. Setting up the master slide
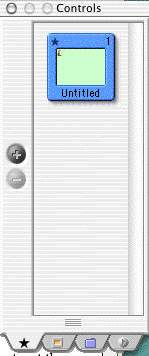
In order to make your presentation look consistent, you should first set up your master slide. To do this, click on the tab with a star at the bottom of the presentation controls. Now you can set up how all your slides will look.
 ....................
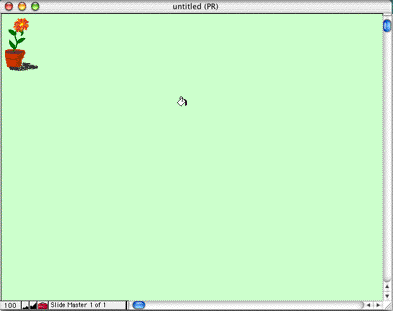
You can use the toolbar to give the master slide a background colour (use the paint tool, and select the whole slide as a paint area, and then you can use the paintpot to tip in colours for a background). If you want to put in a picture at all, make sure it is small, or very pale, because it will appear on every single slide in your slideshow. .If.................
To make slides for your show, click on the yellow square on the second tab of the Presentation controls. If you want your new pages to look like the master slide, you may have to throw away the first slide. You add and delete slides by clicking the plus or the minus button - if you are deleting, make sure you click on the one you want to delete before clicking the minus button.
On the slide, click on the A in the toolbox so that you are using the text tool.
Now just drag your cursor across the page and it will make a text box to start typing the title of your slideshow in.
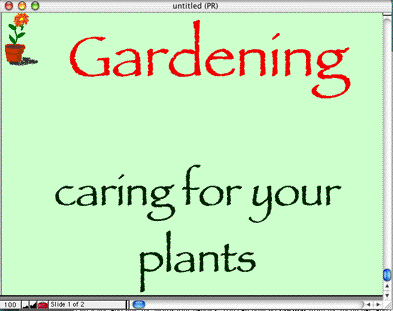
You probably need to make the size bigger so that you can read it. When you have finished typing, just click out of the box to get rid of the grey line and give the words handles. You can now go Format from the menu bar, and change the font, the size and the colour and alignment. (Keep in mind it must show up against the background you have chosen!) You can also move your text box around the screen..
6. Putting images in your slideshow
You can put in images from the clippings file (File - Show Clippings) - check the instructions on putting in images if you are unsure of how to do this.
You can also put in any pictures you have scanned or drawn yourself in KidPix or in Dabbler. Do this by going File - Insert and then navigating to the picture you want to use. Remember to choose All Available not just AppleWorks on that window!
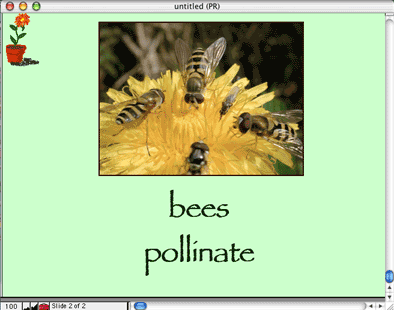
You will probably have to move and resize it when you have put it in. Remember - move from the middle, and resize from a corner. Remember - if the image is not from the clippingsfile or your own art work, you must acknowledge the source in a bibliography. (Remember this when you are scanning pictures).
You can also choose how one slide changes to the next. While you are in the slide editing tab of the presentation controls, press down on the bar that says None, and you will see a drop down list of all the different way slides can change from one to the other. Select a particular slide by clicking on it, and then choose the transition you prefer.
It is a good idea to stick to all one kind of transition so your audience does not get side-tracked by variety. Remember, the simpler, the better, and the more people will concentrate on the message.
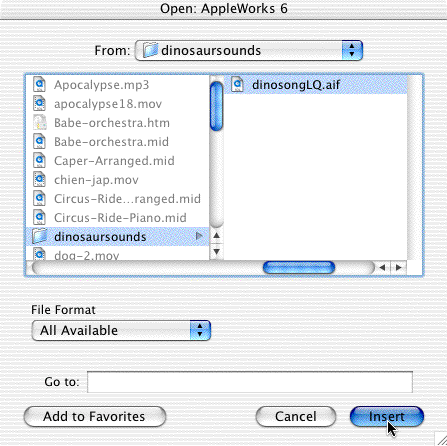
8. Adding sound to the title page
You may want to add a bit of music to your title page. Do this by going to that page, and then going File - Insert and navigating to the Student Disk folder Sounds to Use. Select the sound or music (keep it short!), make sure you have chosen All Available instead of just AppleWorks, and click Insert.
You will now see a little movie icon on the middle of the title page. You don't see it when the slideshow starts, it just plays that sound movie.
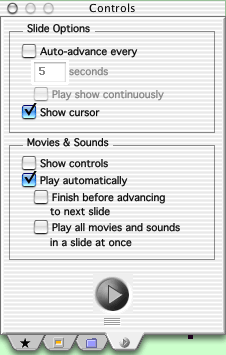
You must now tell the slideshow to play the sound clip. Go to the last tab in the presentation controls, with the arrow, and then in the dialogue box, select Play automatically. (If you have set the slideshow to advance every so many seconds, you will also need to make sure it finishes playing before advancing to the next slide). Now start your slideshow by clicking the big forward arrow below!
You need to check out how it looks after you have done the first few pages. Click the third button in the button bar, or the arrow tab on the presentation controls window. On that window, use the round button at the bottom of the window to start the slideshow.
Click the mouse to advance from page to page, and when you have seen enough, press Q on the keyboard to return to the editing screen. Check that the font is clear enough (it should be a sans serif font, remember), and can be seen against the background.
Now is the time to make changes - not after you have done all the pages!
